Cap files built center-out for the curve and the center seam, so your design sits flat, stays centered and stitches clean on structured and unstructured caps alike.
A cap is not a small shirt. The front panel curves in two directions, the material is stiffened with buckram, and on a six-panel cap a thick seam runs right through the middle of your design. An ordinary flat file sews as if none of that exists. It starts at one side, pushes a wave of loose fabric ahead of the needle, and by the far side the design has drifted, puckered or slid off center.
A cap build works the other way. It starts near the center, close to the seam, and sews outward to the left and right in balance. It also works from the bottom of the design upward, so the fabric is pushed toward the top edge where the panel can absorb it, instead of trapping a bubble in the middle of the design.
The difference shows in the finished cap. Letters stay level instead of smiling or frowning with the curve. Outlines meet their fills. The design sits in the middle of the front panel, where your eye expects it, instead of a few millimeters off to one side. That centered, calm result is the mark of a file that was built for a cap from the first stitch.
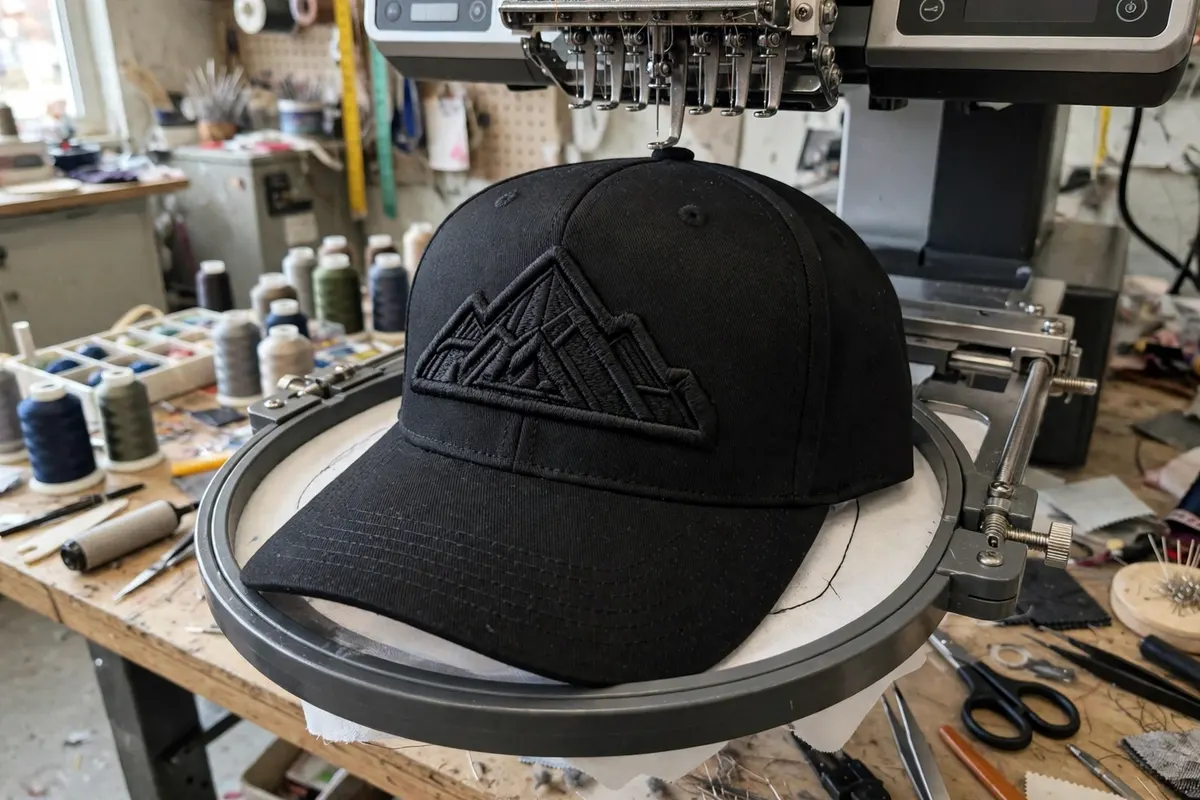
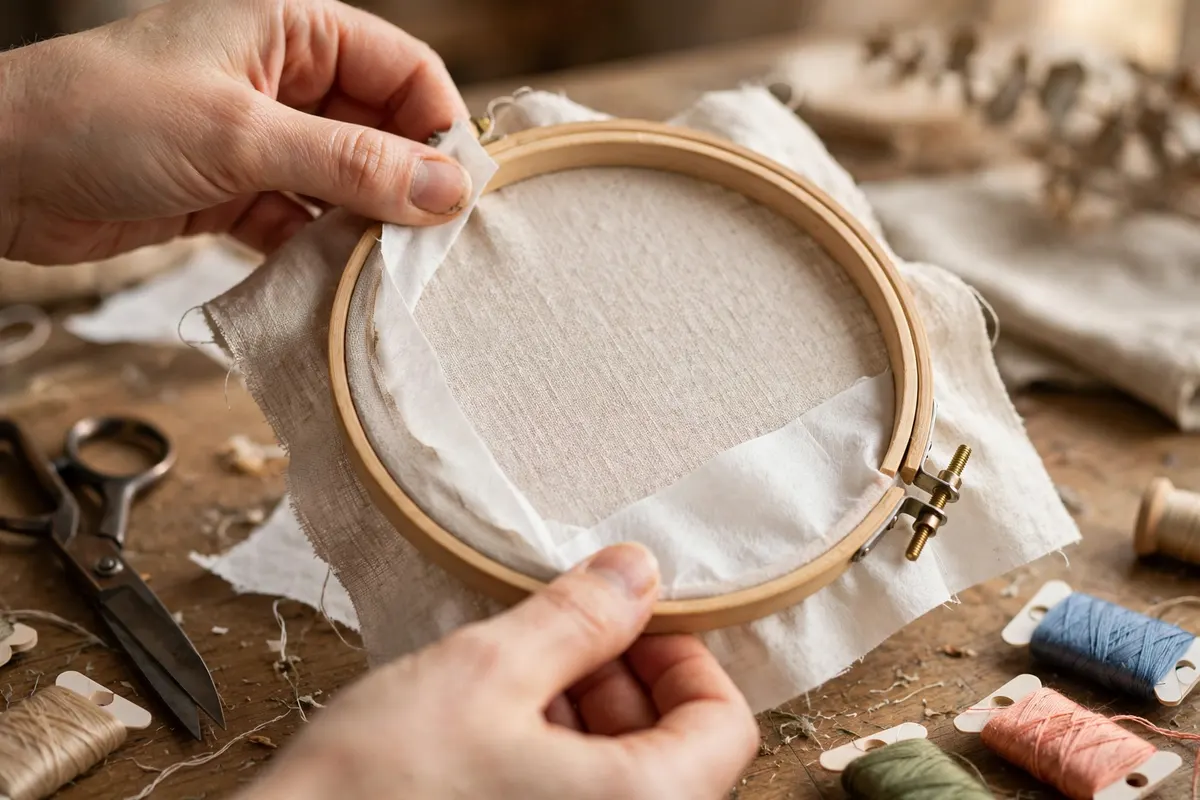
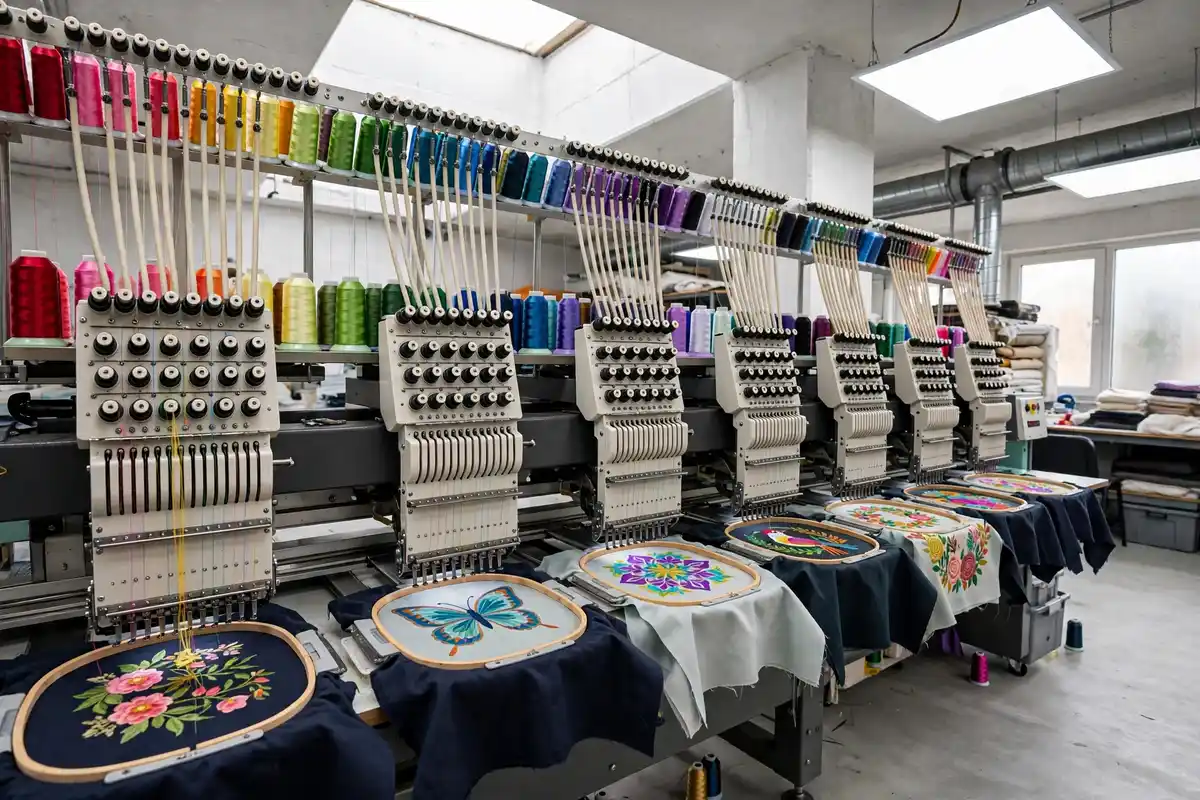
The cap front gives you a wide field but a short one. Width up to about four and a half inches is common, while height is the tight limit — around two and a quarter inches on most standard caps, a little less on low-profile styles. A design that ignores that limit will climb the curve, distort at the top and run close to the edge of the sew field, where quality drops fast.
So cap art needs a wide, bold character. Short, sturdy letters sew far better than tall, thin ones. Fine detail that would be safe on a flat jacket back — a hairline under a word, a tiny star — often needs to be thickened, merged or dropped for a cap. We make those calls with you at the quote stage and show them in the preview, so the cap you get matches the cap you approved.
Many cap designs also pair with 3D puff, where foam under wide satin stitches lifts the letters off the panel. Puff has its own rules: bold block shapes, rounded corners and no fine detail. If your art suits puff, we will say so. If it suits flat stitch better, we will say that too, and you can still add puff to a simpler version of the same design. Puff adds $7.50 to the order.
Trucker caps add one more twist: foam fronts and mesh backs hoop and hold in their own way. Tell us the cap style in your order — structured, unstructured, trucker, five-panel or six-panel — because each one shifts the build a little.
Cap work runs on a cap frame or cap driver, and the design must respect the real sew field of that frame. We set the file size inside safe limits, keep the starting point where cap frames expect it, and path the design so the frame is not asked to swing further than it should. A file that fights the frame shows it at once in noise, vibration and drifting stitches.
Stitch length and density are set for stiff cap material. Buckram-backed fronts can take a firm fill, but the seam area needs a gentler touch plus stronger underlay, because the needle meets a ridge there. We avoid very short stitches near the seam, which can pile up and snap thread, and we keep satin columns from crossing the seam at a shallow angle where they are weakest.
We deliver in the format your machine reads — DST, PES, EXP, JEF, VP3, XXX, HUS, EMB, CND or PXF. If your shop runs caps on one machine and flat work on another, tell us both formats and we will prepare the pair from the same master, with the cap build kept separate from the flat build as it should be.
A test sew on a spare cap is the best check of all. Caps cost more than test fabric, so use your plainest spare, sew the full design, and check centering, height and the seam crossing. Send a photo if anything looks off; revisions are free until the file runs clean.

You get a true cap build — center-out pathing, bottom-up order, seam-aware underlay and a size checked against your cap style — along with a preview, a thread list in sew order and your machine format. We will also tell you the max safe height for your cap, so future designs for the same cap start from a known-good size.
Standard delivery is 24 hours, and rush delivery runs 4–8 hours on request. If the design already exists as one of our flat files, you do not pay full price again: a cap version of an existing design is $5.50.
New cap designs up to 4.5 inches wide are $13, in line with our logo and left chest pricing. Medium and larger side or wrap work is quoted by size before we start. As always, the final quote is confirmed before any work begins.
Tell us the cap, not just the design — the cap style shapes the whole build.
Send your artwork plus the cap type: structured or unstructured, five or six panels, standard or low profile. A photo of the cap front helps a lot.
We confirm the safe height, the price, and whether flat stitch or puff suits the art. Any detail that must change for the curve is shown before we build.
Sew one cap, check the centering and the seam, and send a photo if a fix is needed. Revisions are free until it runs clean.
The front gets the glory, but caps often carry more than one design.
Side logos are small, simple marks — a tiny icon, initials or a short word — placed over the side panel. They need the boldest, simplest art of all, because the area is small and the curve is strong. Back designs usually sit above the opening or on the strap area of a snapback, and they are often plain text in an arch. Both are quick to digitize well when the art is kept simple, and hard to save when the art is busy.
If you plan a set — front, side and back for the same cap — tell us at the start. We will keep the thread colors, letter weights and style consistent across the three files, so the finished cap looks planned rather than patched together from separate jobs. Each placement still gets its own build for its own curve and size.
Full-wrap designs that run around the sides are possible on some cap styles, but they depend heavily on your frame and sew field. Send the cap style and your machine details if that is your plan, and we will tell you honestly what your setup can hold before you commit to the art.
Builds that cap orders are often paired with.
A cap front is curved, firm and split by a center seam, while a shirt is flat and soft. A shirt file sewn on a cap will push fabric toward the edges, drift off center and pucker at the sides. A cap file sews from the center out and from the bottom up, with support built for the curve, so the design stays placed and flat.
For most standard caps, keep the front design at or under about two and a quarter inches tall. Taller designs start to follow the curve too far, and the top can distort or hit the edge of the sew field. Low-profile caps allow a little less height. Send us your cap style and we will set the tallest safe size for that shape.
Yes, we build for both. A six-panel cap has a center seam that the design must cross with care, so we add support under the seam area and keep fine detail off the seam line where we can. A five-panel cap has a smooth front with no seam, which gives a cleaner field. Tell us the panel style so the build matches your cap.
The center seam is thicker than the rest of the front, so needles can deflect and stitches can sink or skip there. We strengthen the underlay across the seam, avoid placing tiny detail right on the seam line, and keep satin columns from landing at a weak angle on it. The design still sews as one piece, but the seam area gets the extra support it needs.
Puff needs a firm base to stand up well. On an unstructured cap, the soft front can flex under the foam and the raised effect may look uneven or collapse in spots. Flat embroidery is the safer choice there. If you love the puff look, use a structured cap for that run. We are happy to advise before you order, so you do not waste caps.
Send your artwork and cap style on WhatsApp for a free quote. New cap designs are $13, cap versions of existing designs $5.50, delivered in 24 hours.